
How did I improve my food photography so dramatically that I ended up deleting most of my instagram account and starting over? Got noticed by brands, got asked to take pictures and make videos for them?
You can look at my portfolio here.
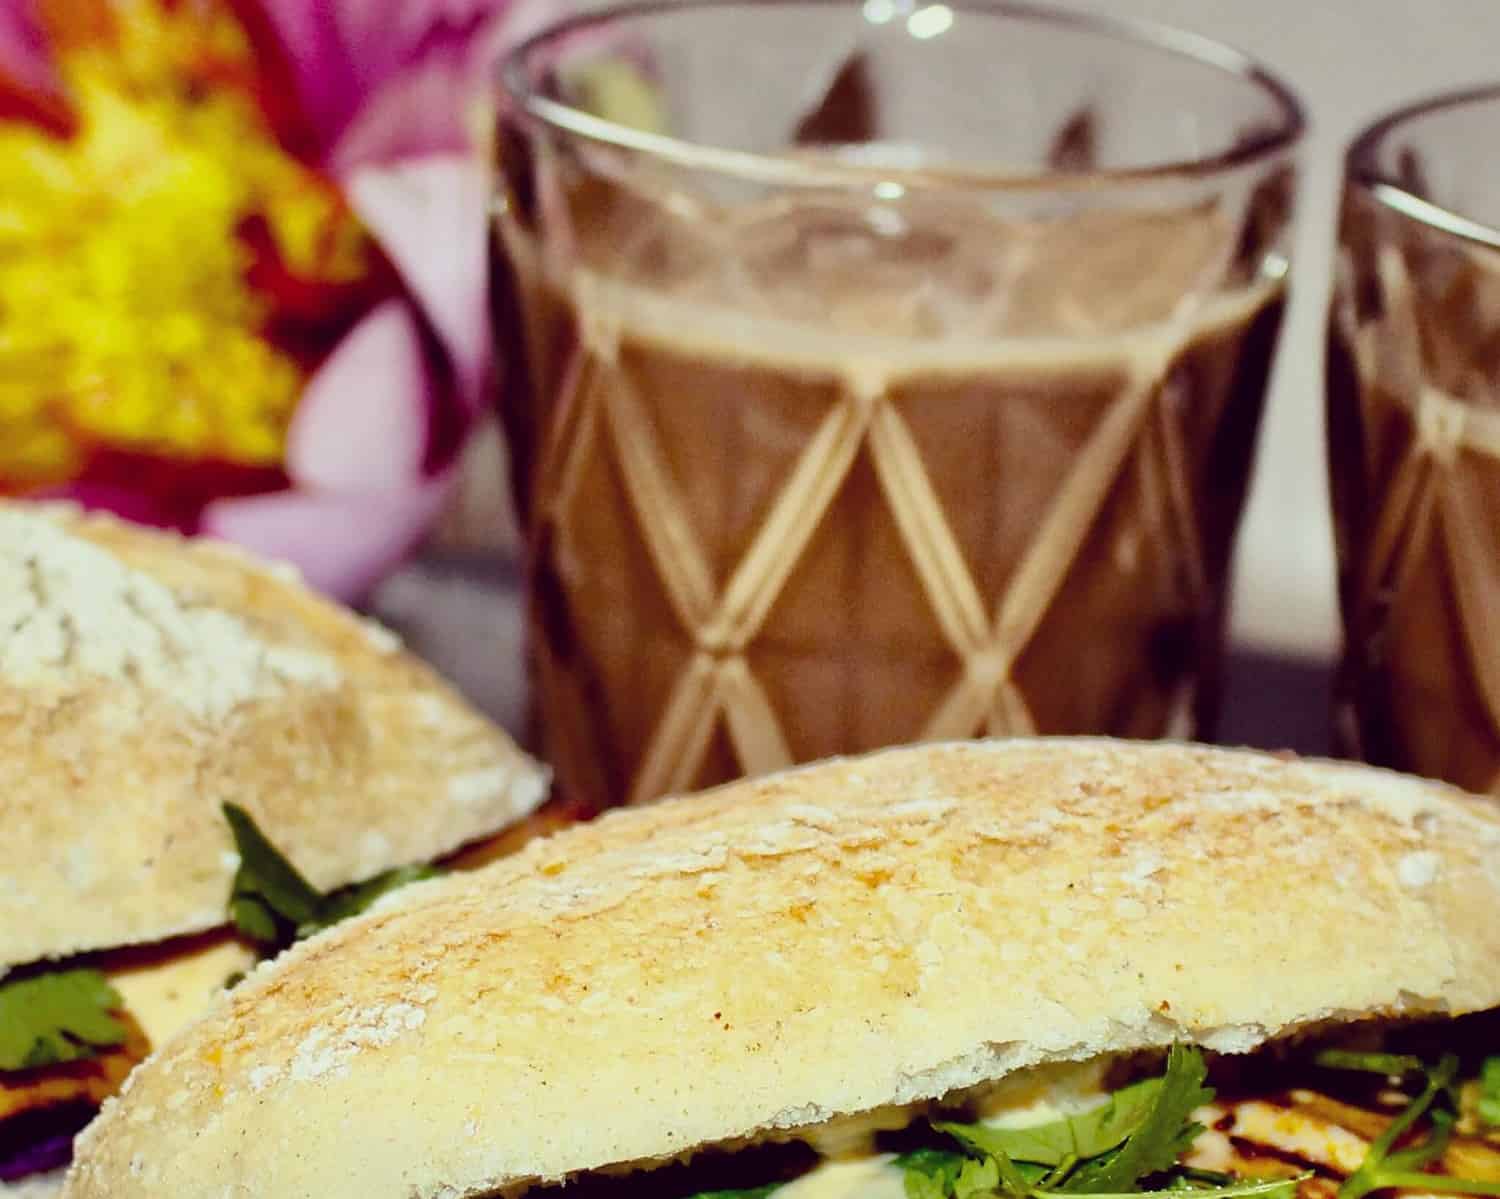
Here are the before and after and today pictures from where I started 2017 and where I was in 2020, and the food photography I do today. And as I’m often asked about my camera and equipment, you can find all that in my blogpost “How to Become a Foodblogger“.
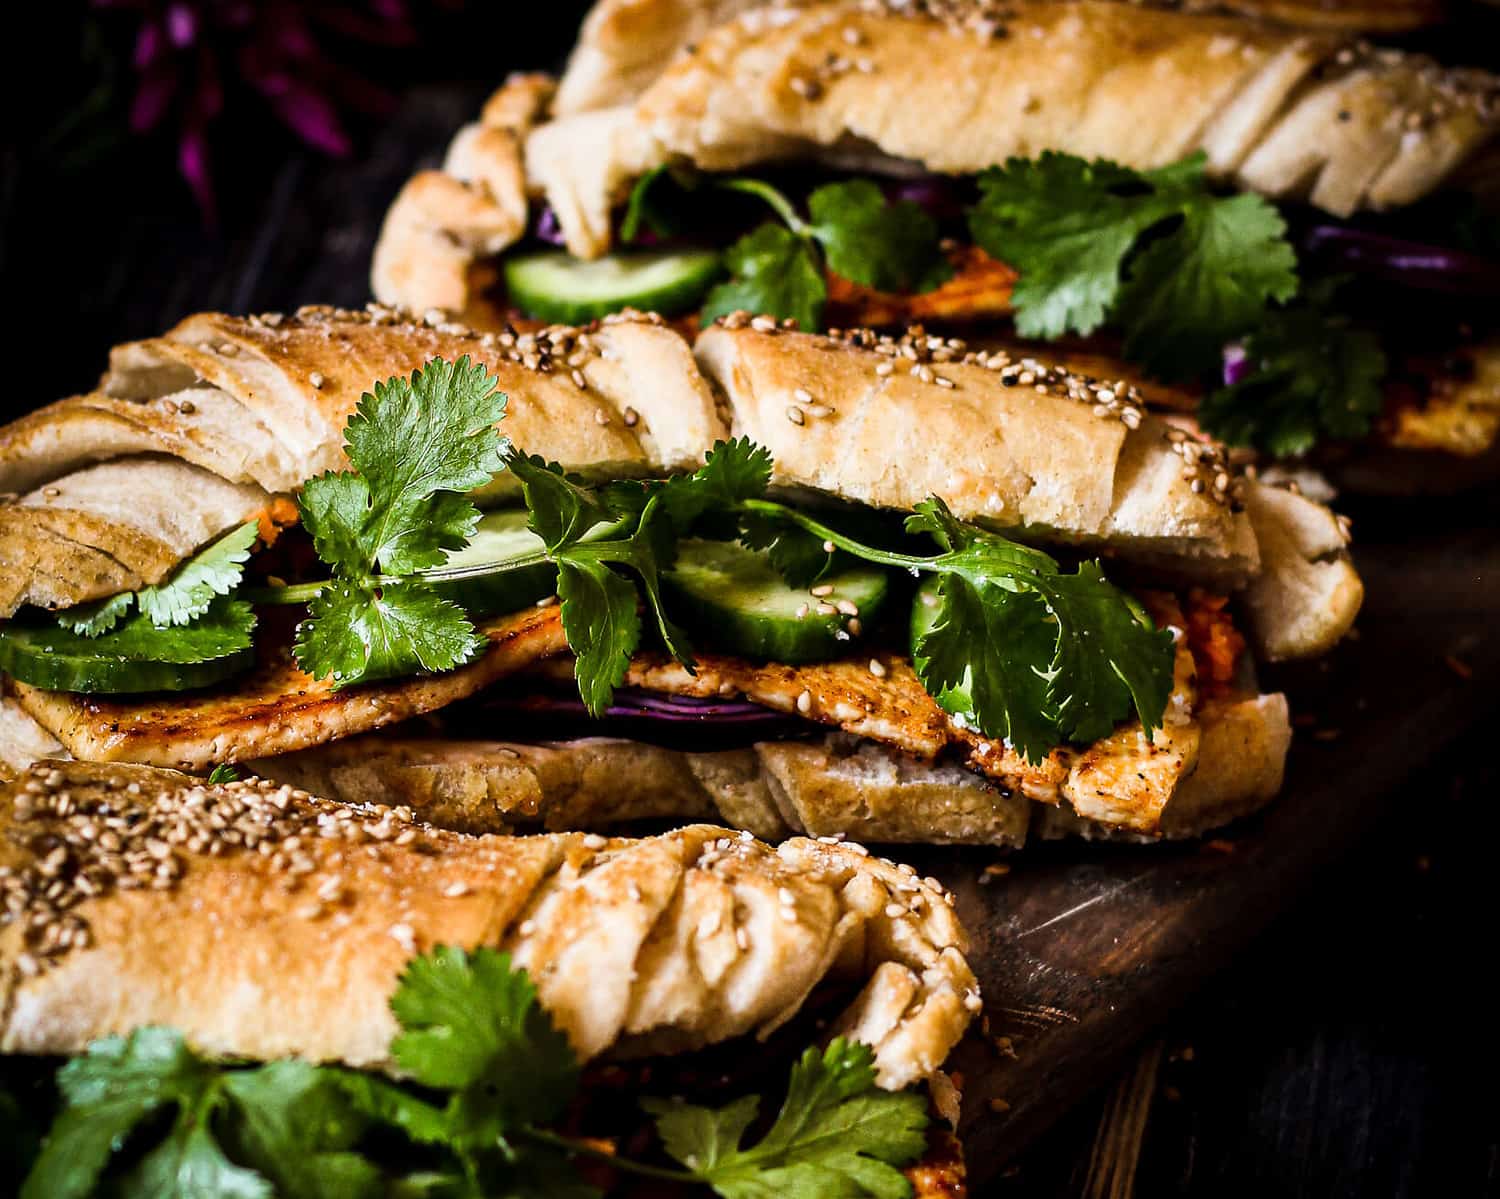
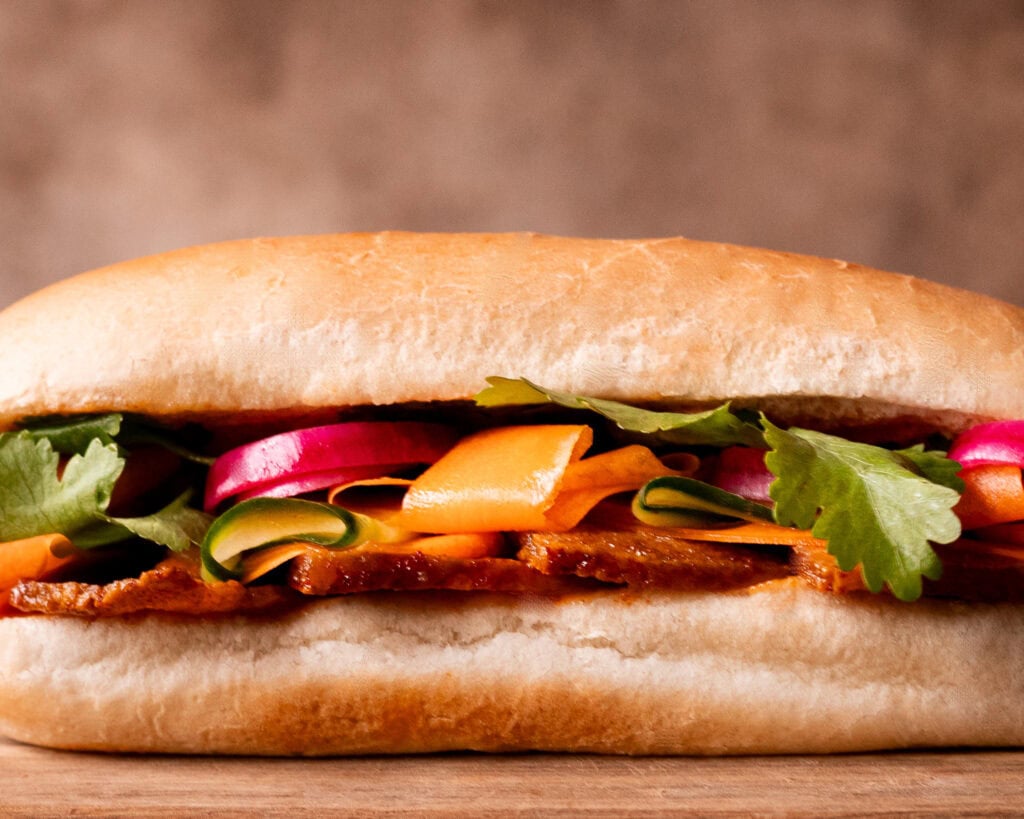
The banh mi sandwich today:
Here are my tips to take your food photography to the next level:
- Light makes all the difference
Use sidelight for food and backlight for drinks, that’s what I would usually advise, at least for beginners. Always turn off the big light above the kitchen table, it doesn’t do you any favours. If you’re in a restaurant, look for a table close to the window so the daylight is stronger than the restaurant lights. Harsh direct sun can look great, but I’d say it’s more of an advanced thing.
If you have no daylight, you might want to check out artificial lighting for food photography, but don’t even try with the big light on the kitchen ceiling, believe me. I will talk about my artificial light setup later in this blogpost.
- Focus on what makes it tasty
What exactly is special about this food? Can you capture the texture, the steam, the beautiful food styling? Let those things shine!
A nicely layered cake or burger will look best when photographed straight on, whereas a beautifully garnished soup or buddha bowl will look best when photographed from above.
- Compose the scene nicely
Make sure the horizon is straight, there are no unwanted paraphernalia or packages in the frame and the whole scene looks harmonious. Do the colours look good together? Does the food need anything else to look appealing, like herbs, cutlery? A little bit of a mess or a bite taken out can look even tastier and more natural, and reveal more of the texture, and storytelling with ingredients is an option too.
If your kitchen table doesn’t work so well or you would like some variation, you can buy some backdrops. For example vinyl ones from Errer backdrops in the Netherlands, where I got this “cafe table” and others.
- Consider taking a course
My biggest stepping stone was the amazing food photography and food styling online course with Kimberly Espinel*. I took the course during the first covid lockdown. I couldn’t believe the dramatic difference! I learned so much in that course, but the most important thing is that I found my style and voice. Once you know what you’re doing, it’s so much easier to express yourself in your pictures!
If you want to learn to use your camera in manual mode, about working with light, composition techniques, colour theory, lightroom and more, check out Kimberly’s course.
It’s a class over the course of six weeks, very well structured into six lessons starting from scratch. So it works for beginners, but if you already know a few things, like how to use your camera in manual mode, it’s much easier to follow.
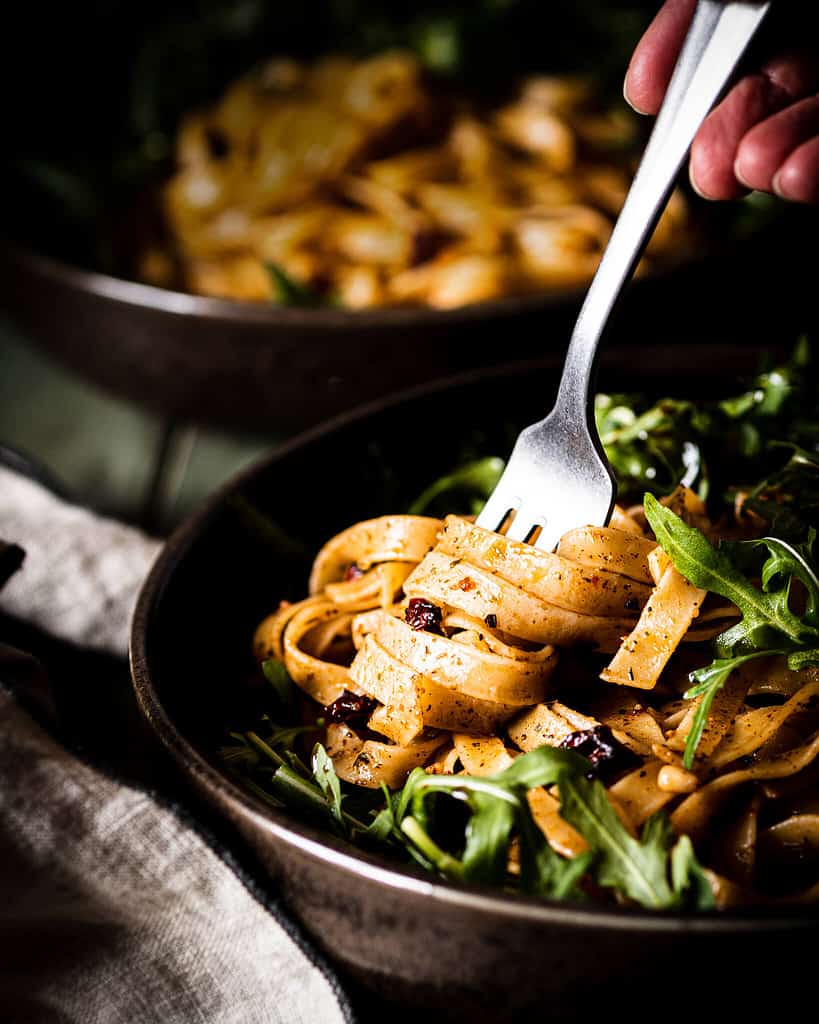
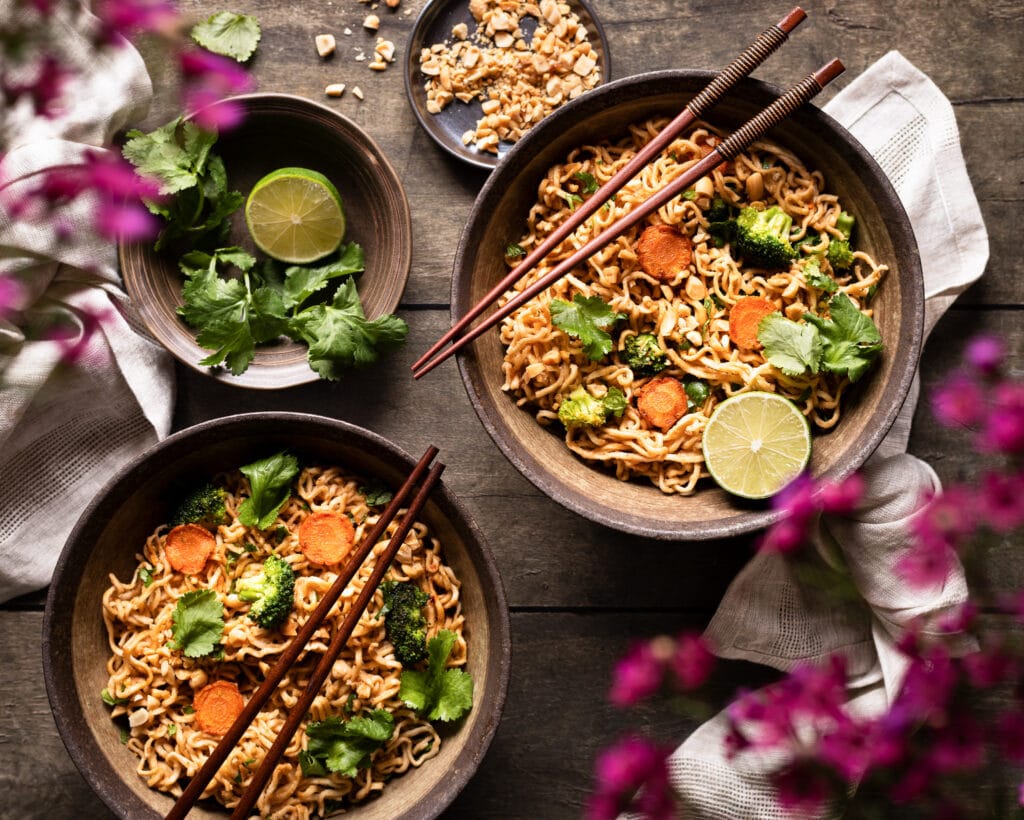
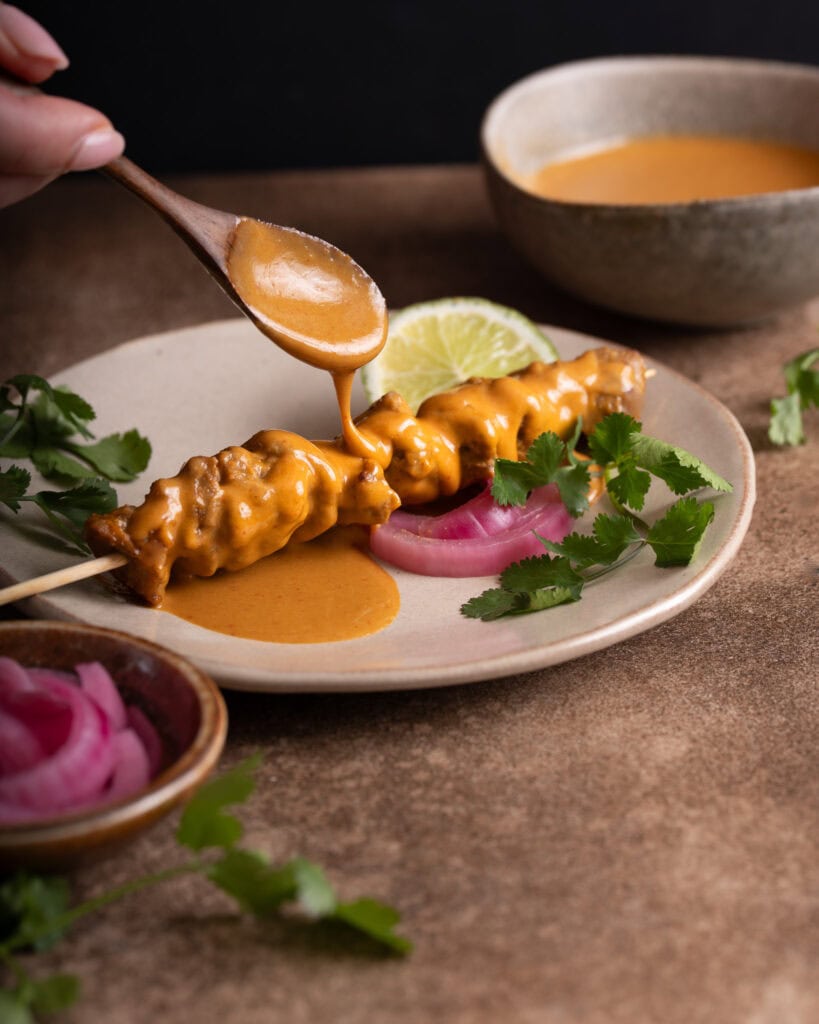
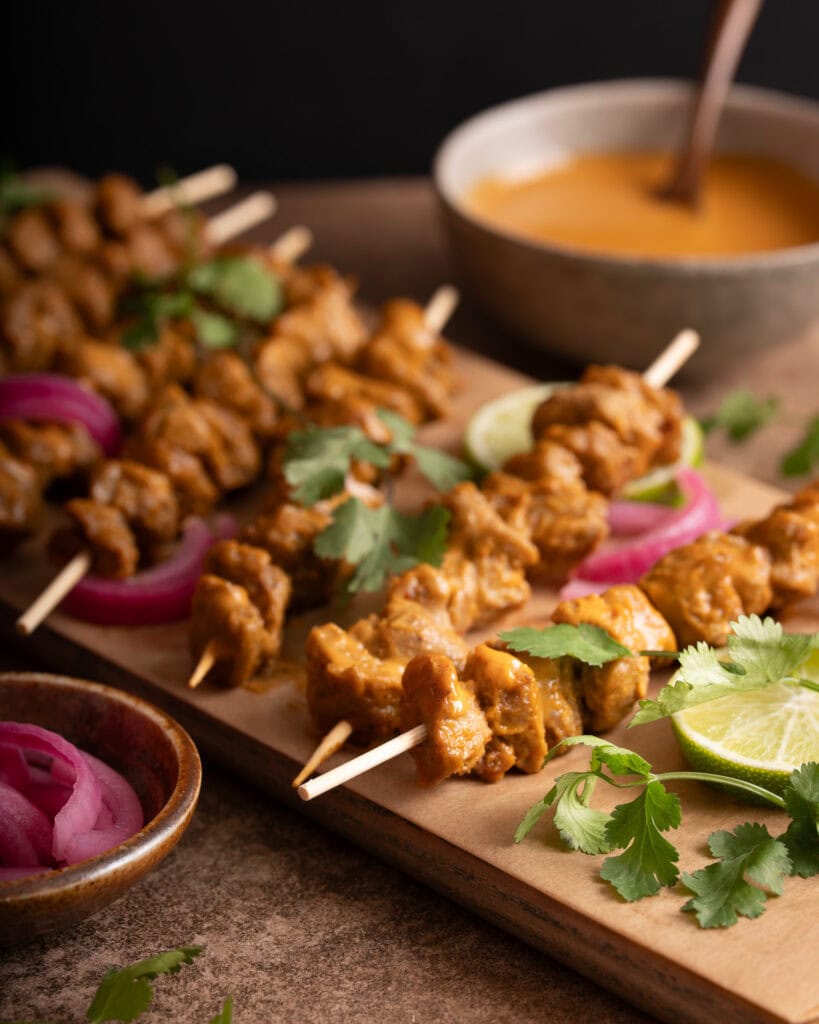
You will probably agree that my food photography learning curve was quite steep when looking at my seitan satay:
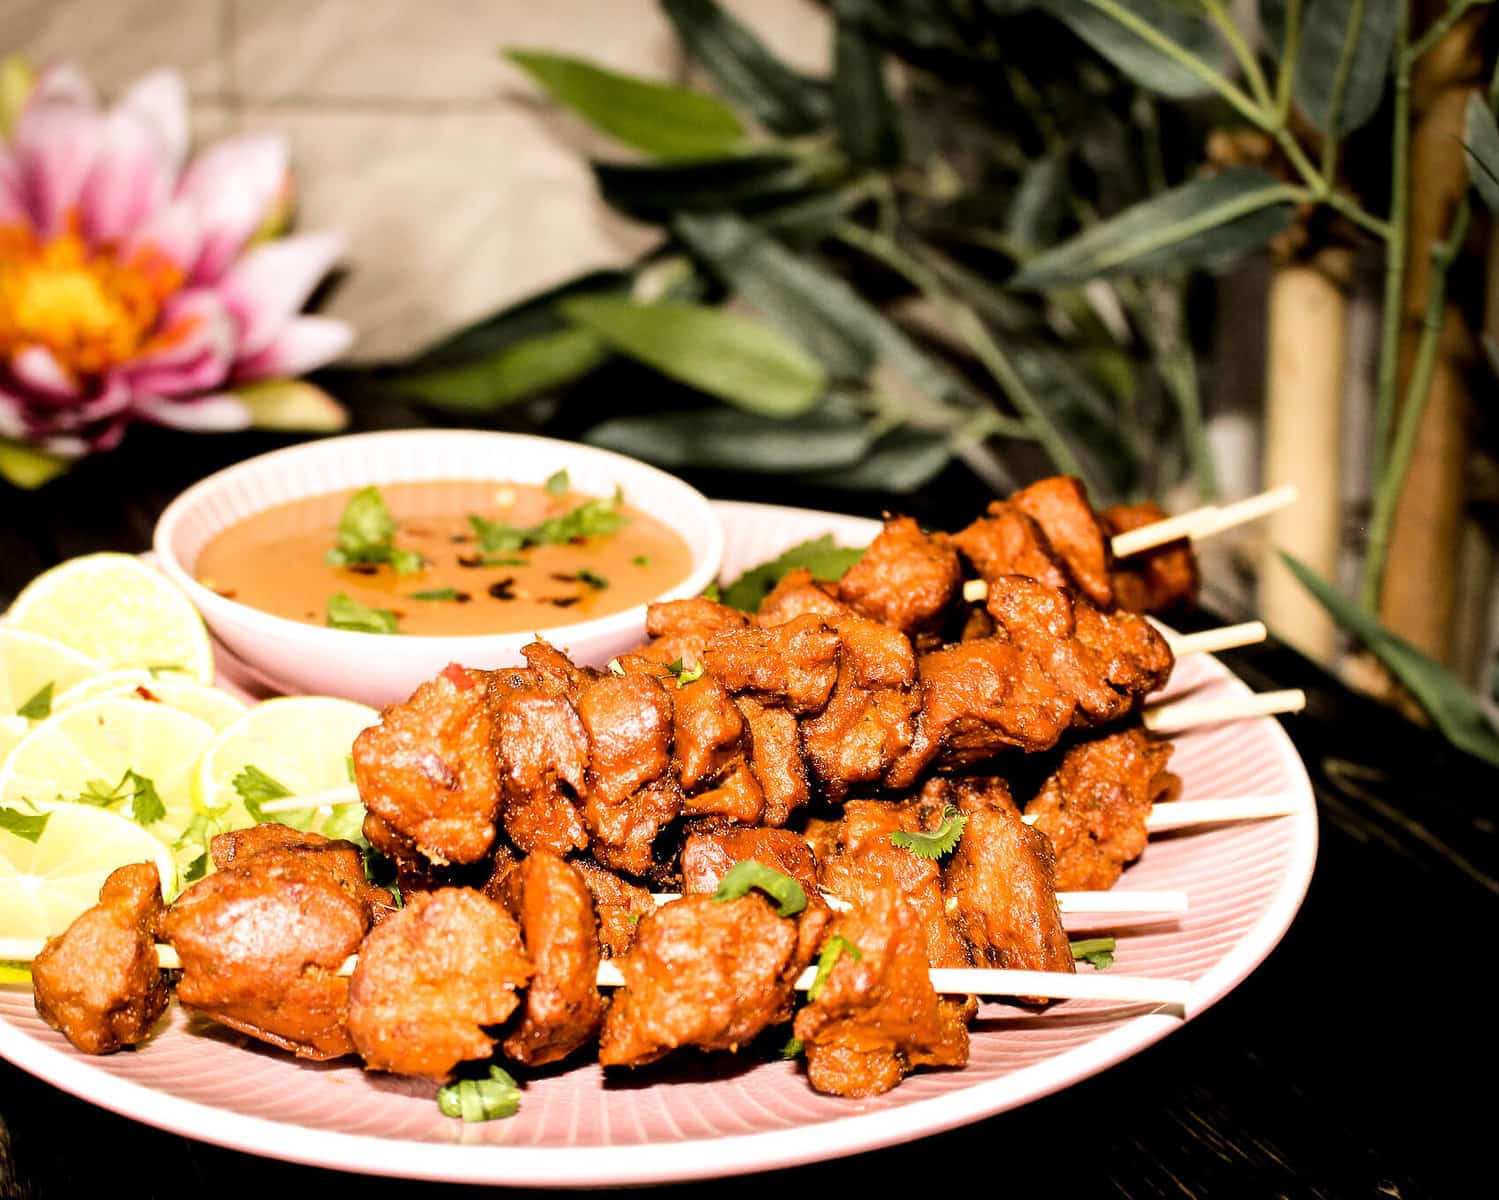
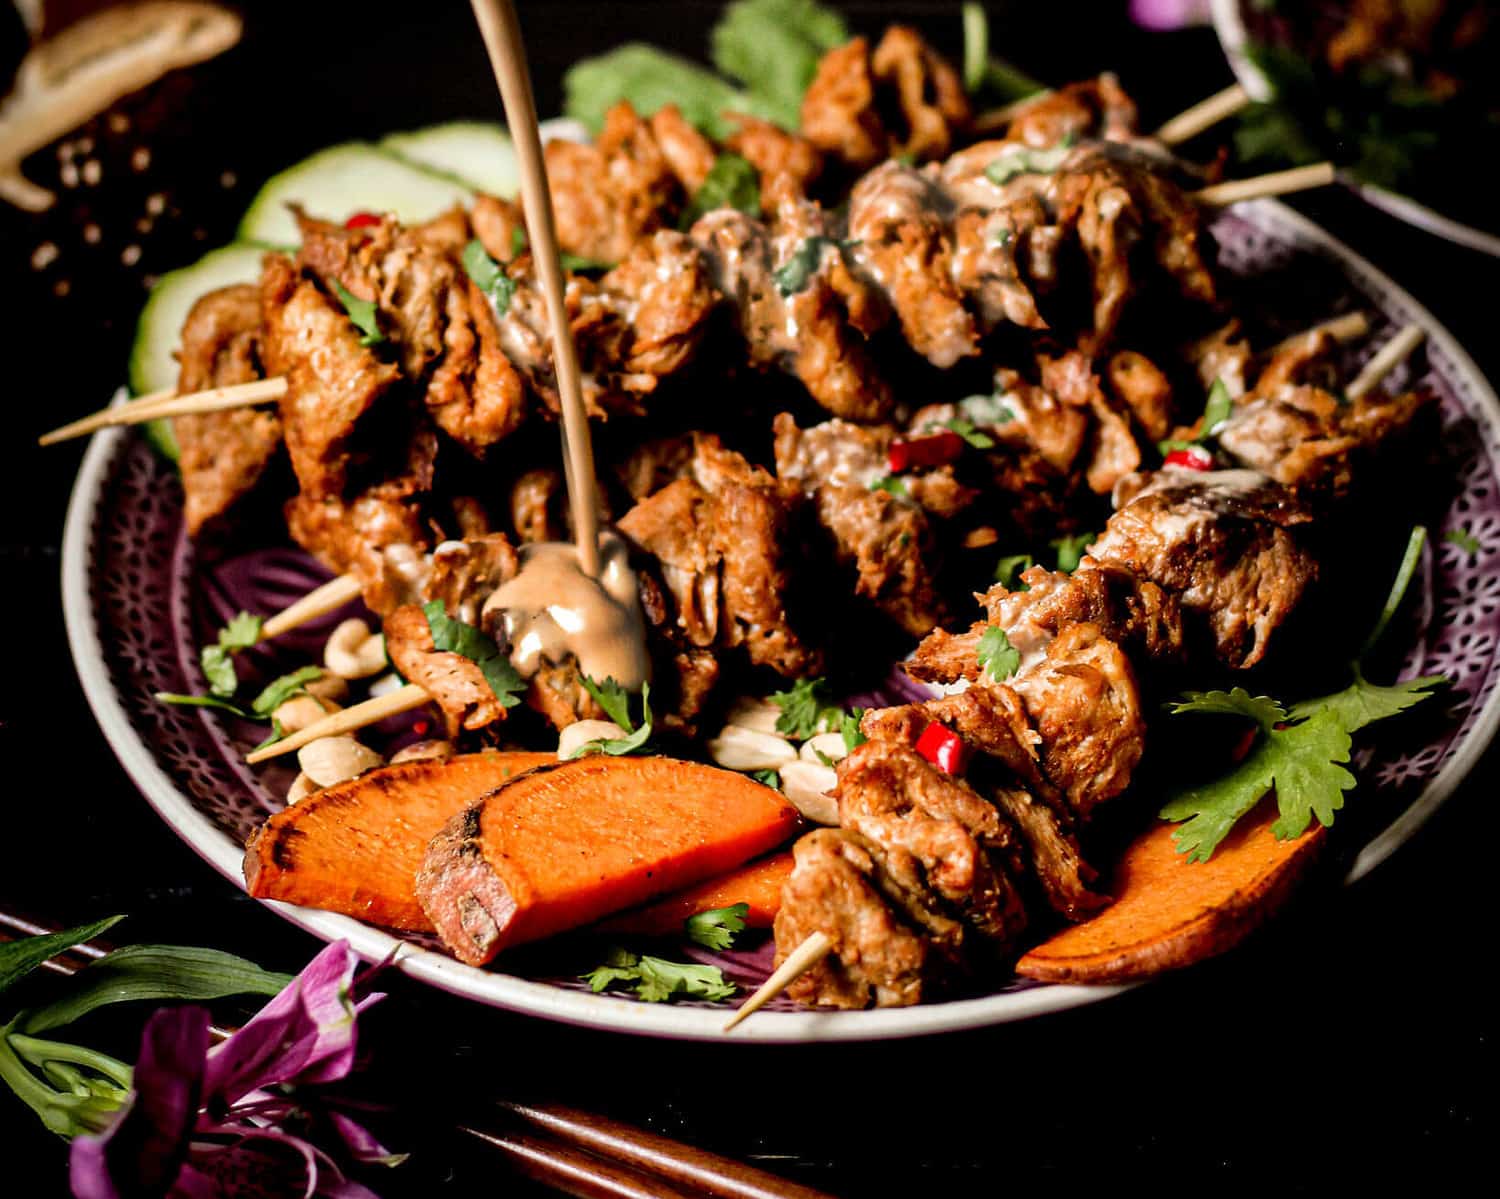
Seitan Satay today:
- Lightroom and photoshop
Lightroom is an amazing way of taking your raw pictures to perfection. You can create nice rays of sun on your food, edit the colours to your liking and fix minor issues. For bigger projects you need Photoshop, and you can get a package deal from adobe.

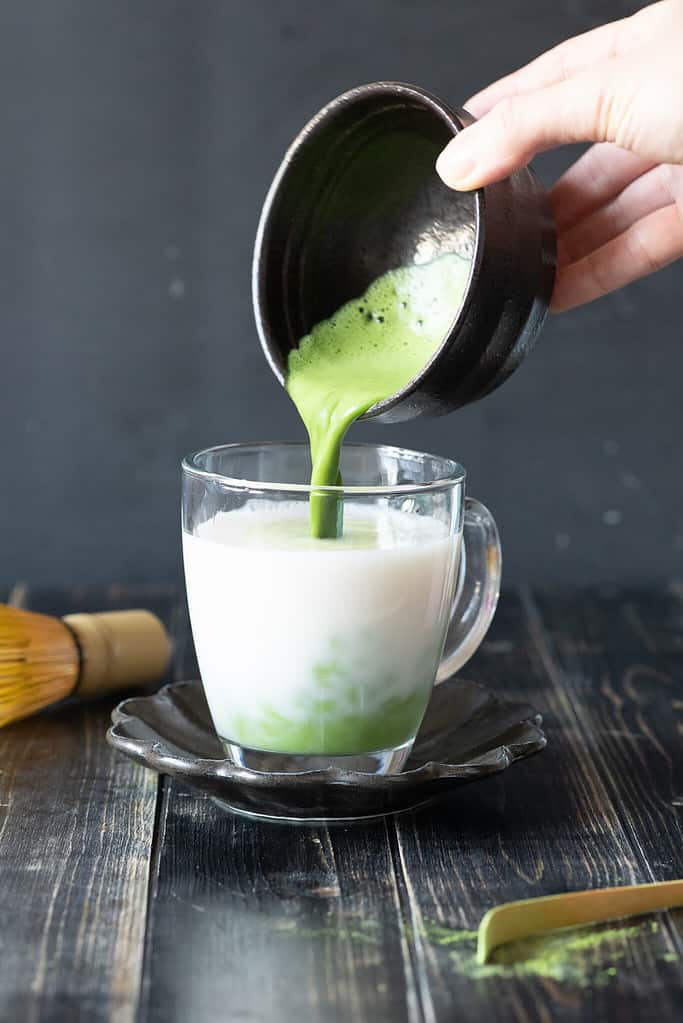
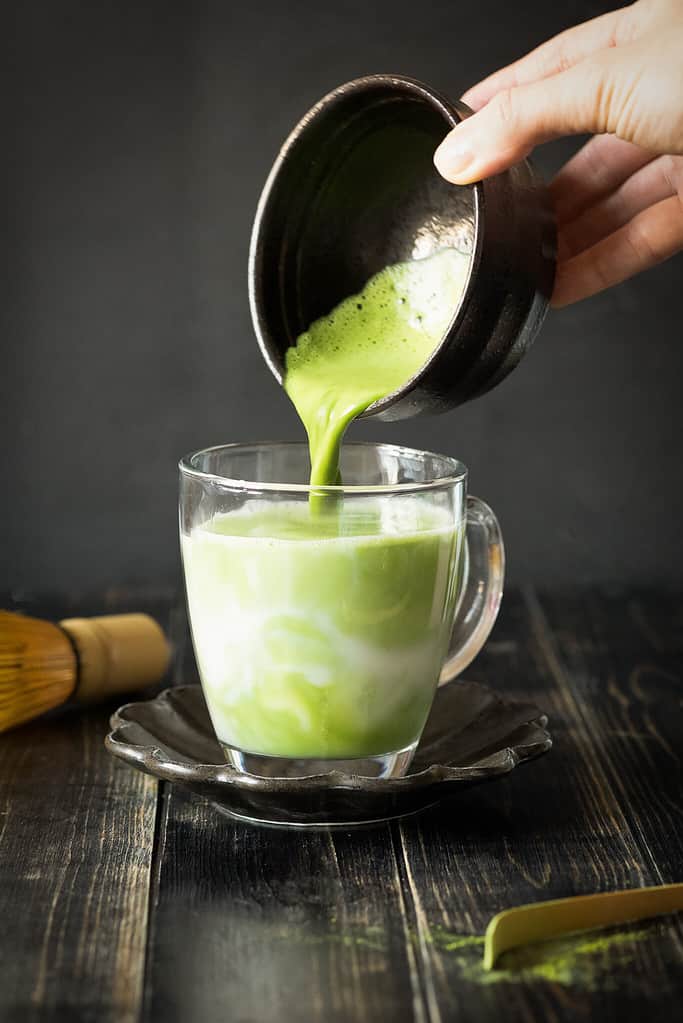
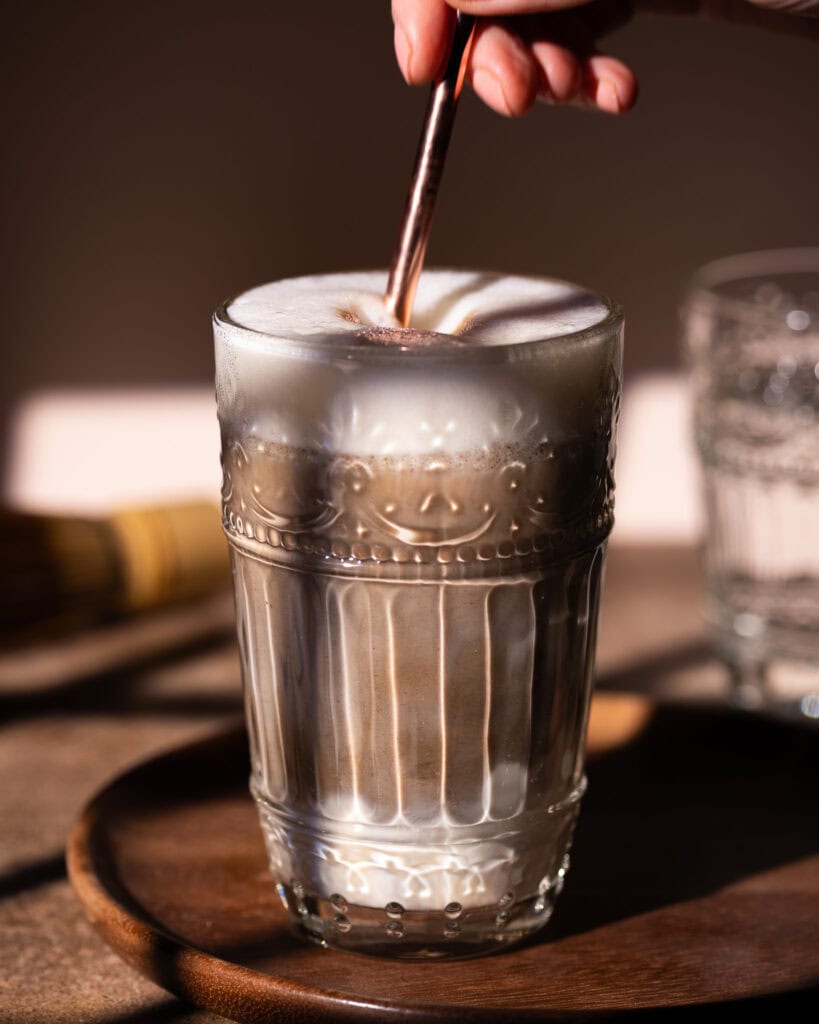
To learn retouching food photography with photoshop I took this course by Rachel Korinek. She explains very well how to do all these magic things like for example taking the best out of these two matcha latte pour shots and turning them into one nice shot:

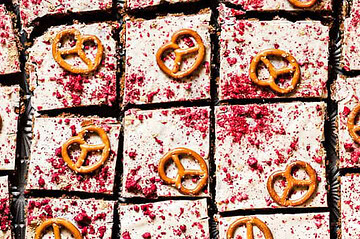
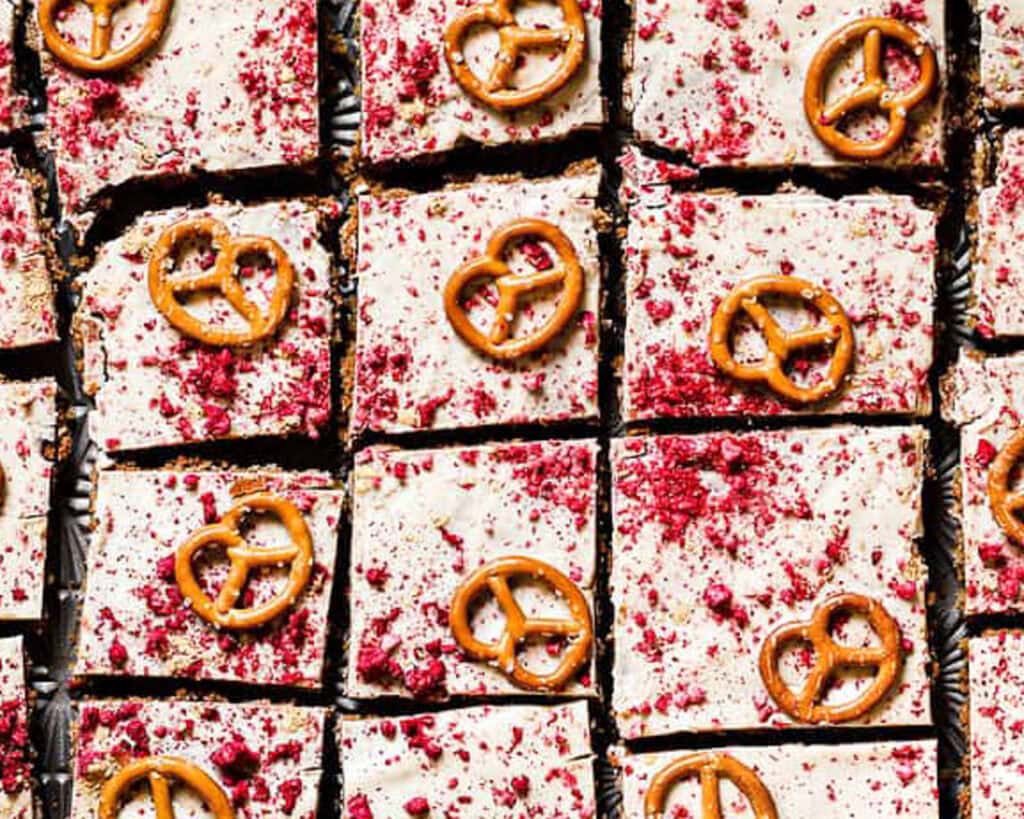
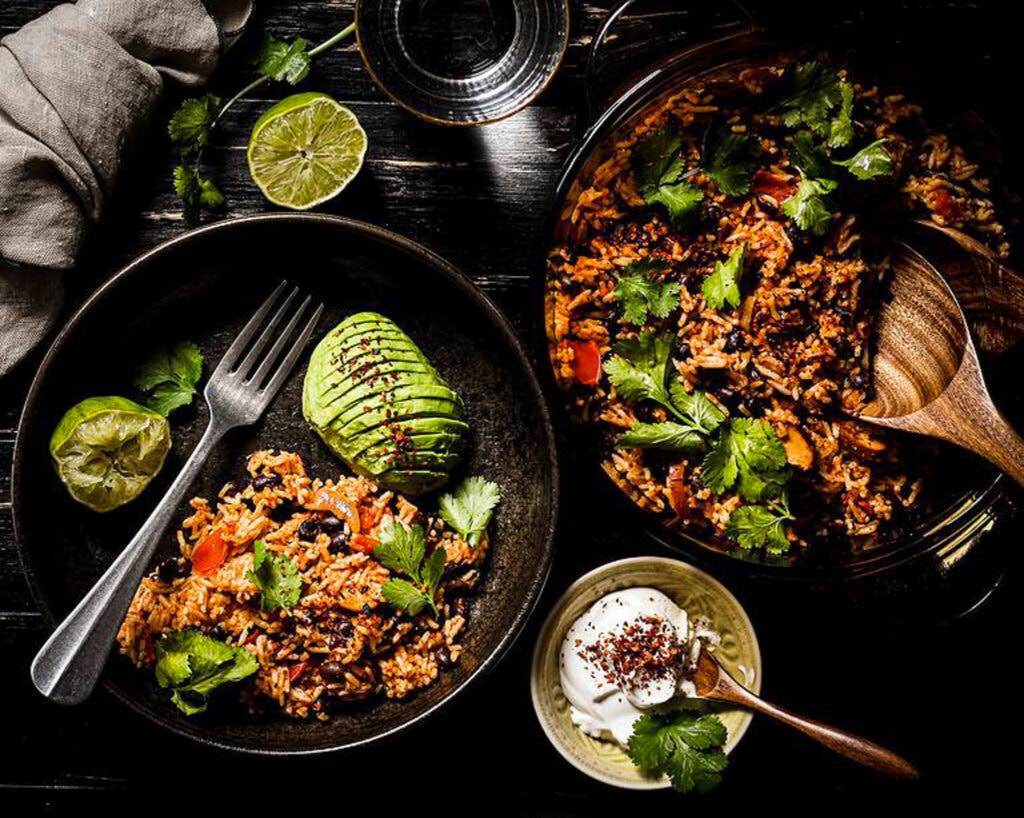
- Beautiful foodstyling
One of the most fun things for me to learn as a food blogger was how to present my food in the most beautiful way, and I have come up with a formula that always works. These are my white chocolate pretzel sheet cake and my fried tomato rice. Find out more on that in my blogpost Foodstyling 101.
- Advanced learning: Sunny light Setup for Food Photography
Artificial light was something I shied away from for a long time, thinking it would look fake and would be a big deal. But, as many food photographers say, once I figured it out there was no way back to being dependent on the weather and daylight. I now have an Aputure LS 600d Professional 600W Daylight lamp* that I use for my pictures and videos. It was not cheap, but as I share it with my boyfriend it was worth it for us. We don’t use a flash anymore, the lamp ticks all the boxes for us. And next thing I got my favourite toy to go with the lamp: a gobo projector* that creates the most beautiful light scenes.
What is a gobo?
A gobo is a template placed in front of a light source to create light patterns, think window frames, leaves, or geometric shapes. In food photography, gobos are used to simulate natural, directional light without having to wait for the sun. Perfect for home studio shoots at any time of day.
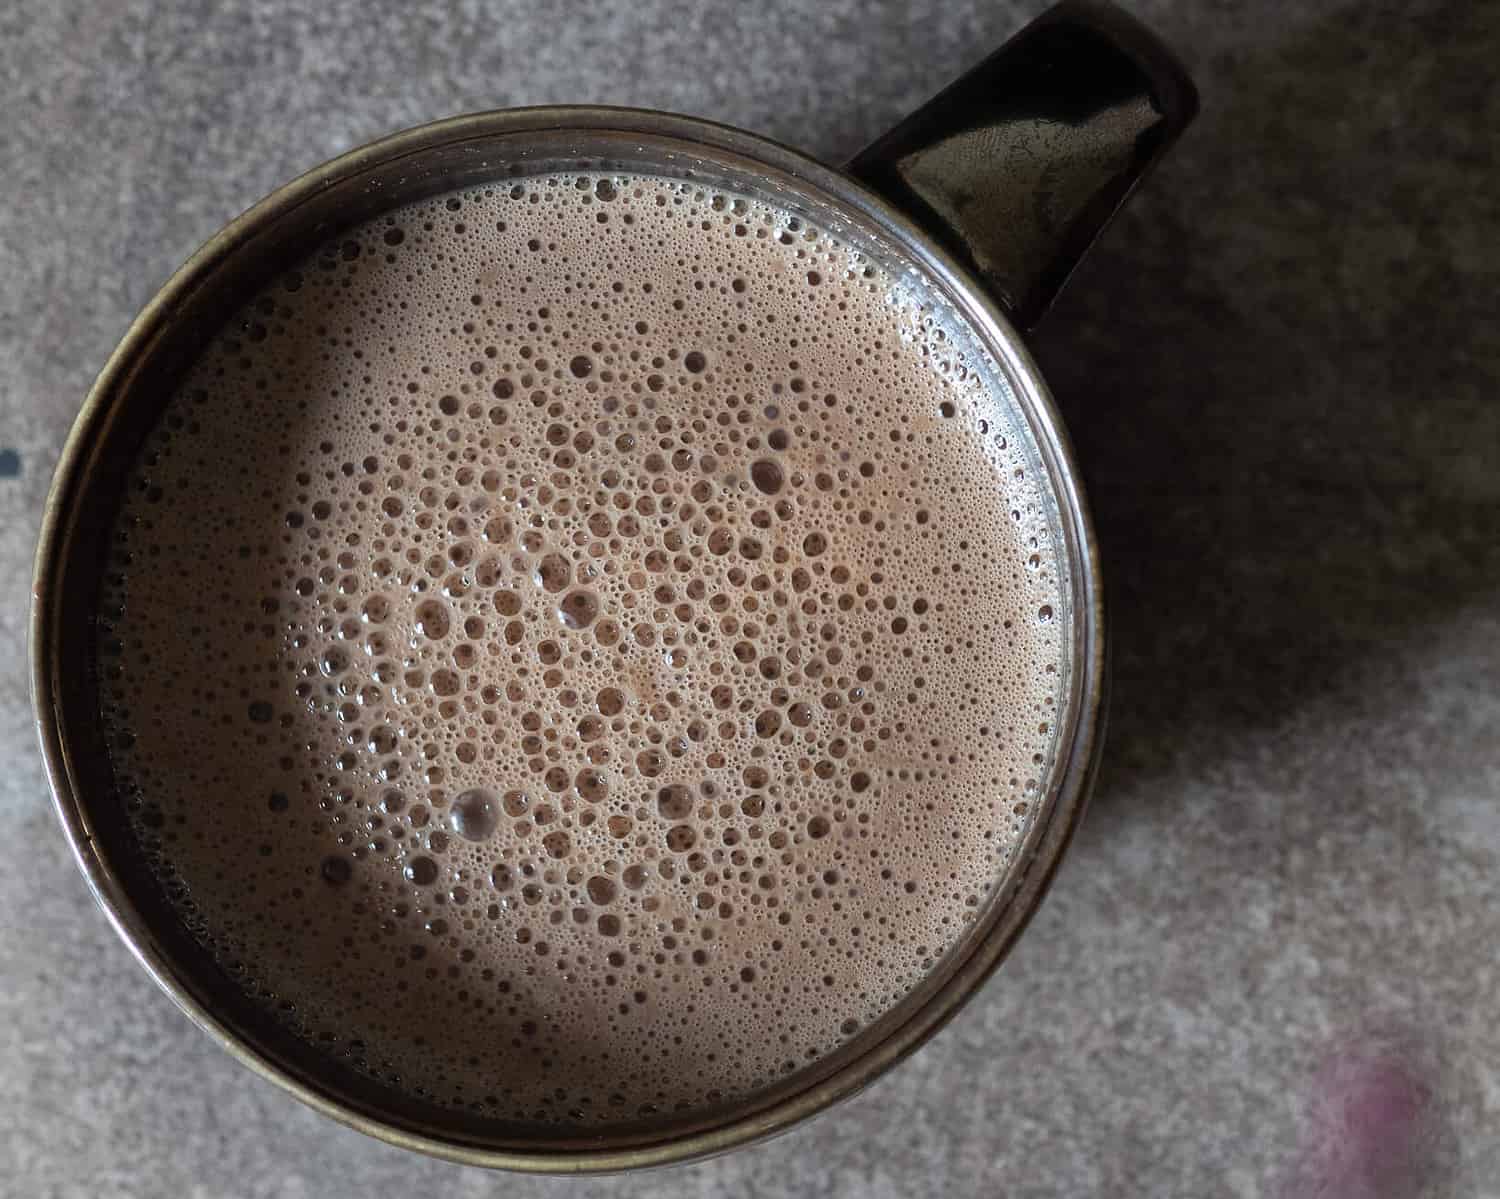
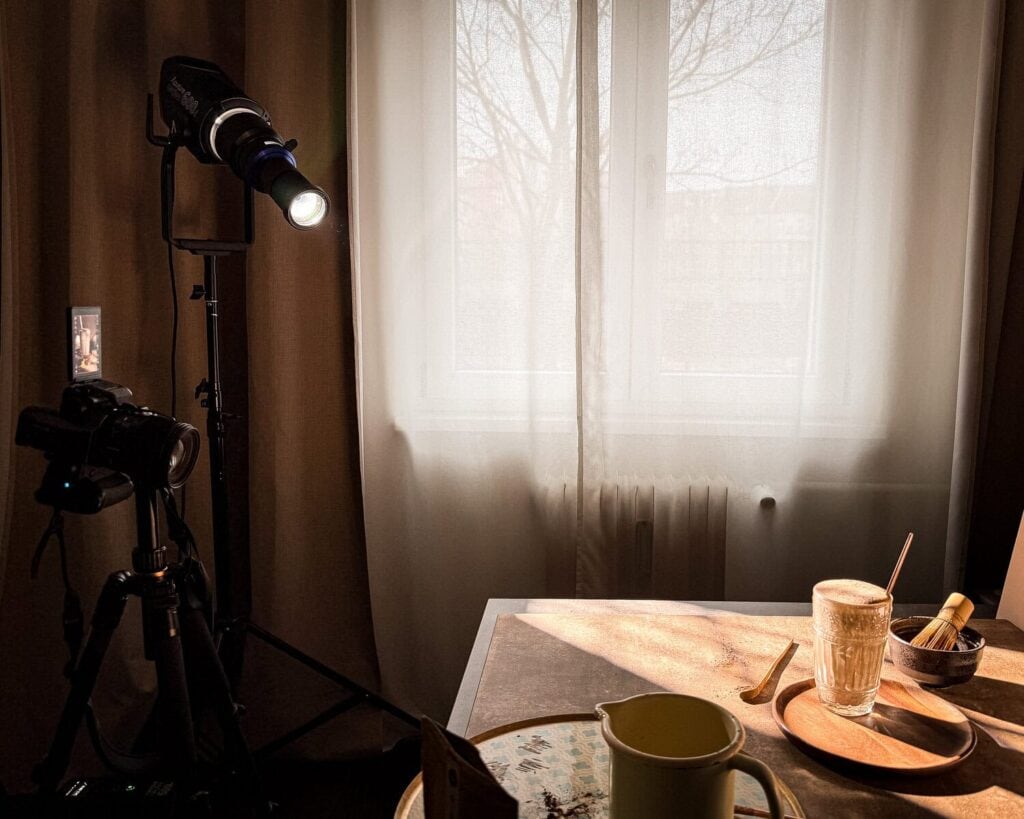
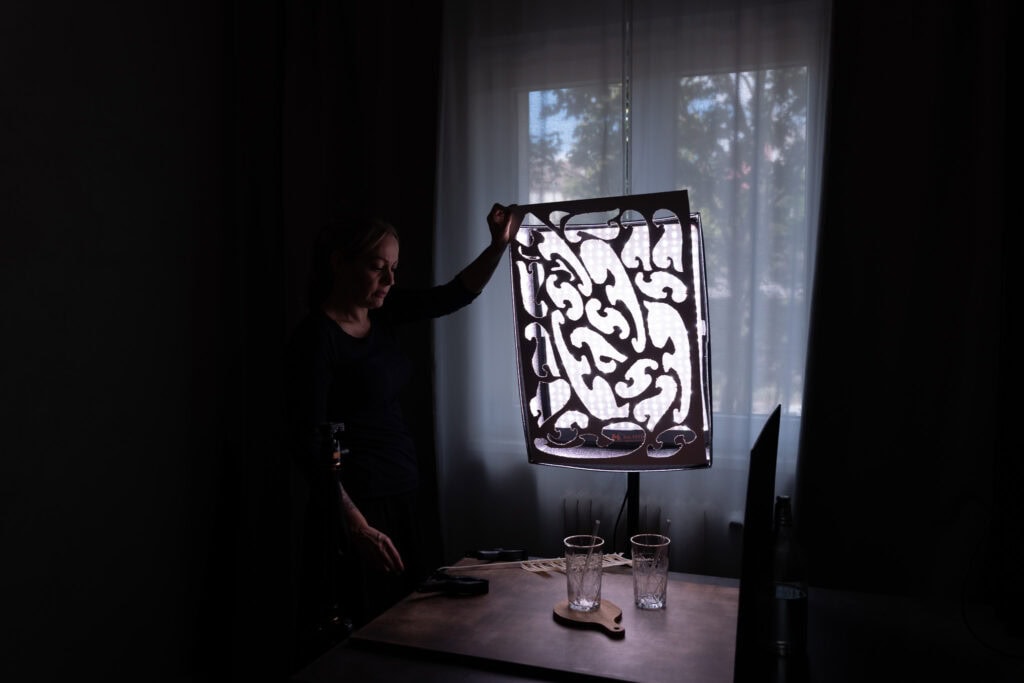
Here you can see the setup for my Hojicha Latte.

What I wish I had known before buying this magic setup: the lamp gets hot! To change the gobos, I recommend heat gloves* and don’t leave the light on while fumbling around with the set for ages or chopping herbs in the kitchen, the gobo holder can actually melt at some point. Happened to us. The company was so nice to replace it, but that doesn’t need to happen to you too.
You don’t want to spend so much money? Try DIY! I made my first Gobo from a big cardboard and put it in front of our video light we had back then. I also used a fake twig. That worked for my purposes at the time:
- Keep learning about food photography!
Since I took the class I have been devouring books on food photography. My favourites are
- “Creative food photography: How to capture exceptional images of food” by Kimberly Espinel*
- “That photo makes me hungry” by Andrew Scrivani*
- “How to photograph food” by Beata Lubas*
- “Picture Perfect Food: Master the Art of Food Photography with 52 Bite-Sized Tutorials” by Joanie Simon*
I also learned a lot from the youTube channels The bite shot, We eat together and Murielle Banackissa.
You might also like: