Most of what works for food photos also works for food videos: for beautiful cooking videos, you need great light, beautiful food styling and props, an eye for composition and an editing software.
At the moment, I use my Lumix S5 IIx* and my 100 mm macro lens*, but you can also use a smartphone to film your recipe reels like most people do. For editing I use DaVinci Resolve.
Here are my tips to film the most appealing recipe reels
- Plan Your Shots: Outline your recipe and plan each step in advance. Consider the sequence of shots to ensure a smooth flow. Prepare all ingredients and tools before you start shooting.
- Lighting: Just like with photography, natural light is ideal, so shoot your recipe reels near a window. If you don’t like harsh light and shadows, you can use a diffuser. You can also get a professional artificial light set up. If you can ensure consistent lighting throughout the shooting process, you will have a much easier time editing.
- Composition: Use a clean, clutter-free background to highlight your food. Experiment with different angles to capture interesting perspectives in your recipe reels. Focus on the details, such as chopping, stirring, and pouring.

- Camera Stability: Use a tripod to keep your shots stable and avoid shaky footage. You also might want to invest in a gimbal* for your smartphone to stabilize.
- Camera Settings: Use a wide aperture (low f-stop) for a shallow depth of field to emphasize the food in your recipe reels.
- Close-ups and Details: Capture close-up shots to showcase textures and colors. Zoom in on important ingredients or actions for visual appeal.
- Camera Angles: Experiment with different angles, including overhead shots and eye-level shots for a dynamic video.
- Consistent Style: Maintain a consistent visual style throughout your reel. Use a cohesive color palette and editing style. Be intentional with your choice of backdrops and props.
- Editing: When editing, focus on important ingredients or actions and start and stop in the middle of the action. Unless you’re filming an onion chopping instruction video, the viewers don’t need to watch you cutting a whole onion. It’s usually enough to show one second of chopping and a slice of onion falling and catching the light. Start the video with a beautiful and dynamic capture of the dish to catch people’s attention at the beginning of the video. I use an automatic rotating plate* for a smooth turning movement.
- Music: Add background music that complements the mood and edit to the beat. But you want to be careful if you want to make money with those videos. I used to think I could use the music provided by instagram, but when I used “bittersweet symphony”, my reel was removed because of copyright issues. And I was lucky, others had to pay huge fines. Check out Meta’s soundcloud, I have found some nice background music there and it’s safe and free to use.
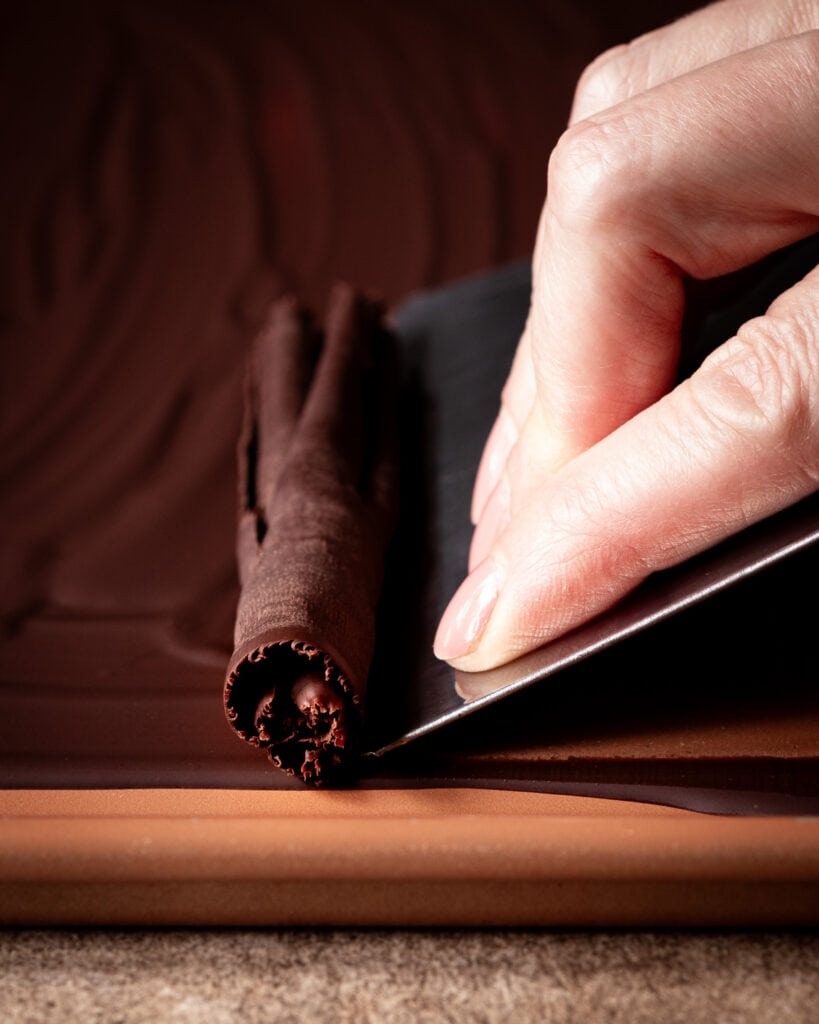
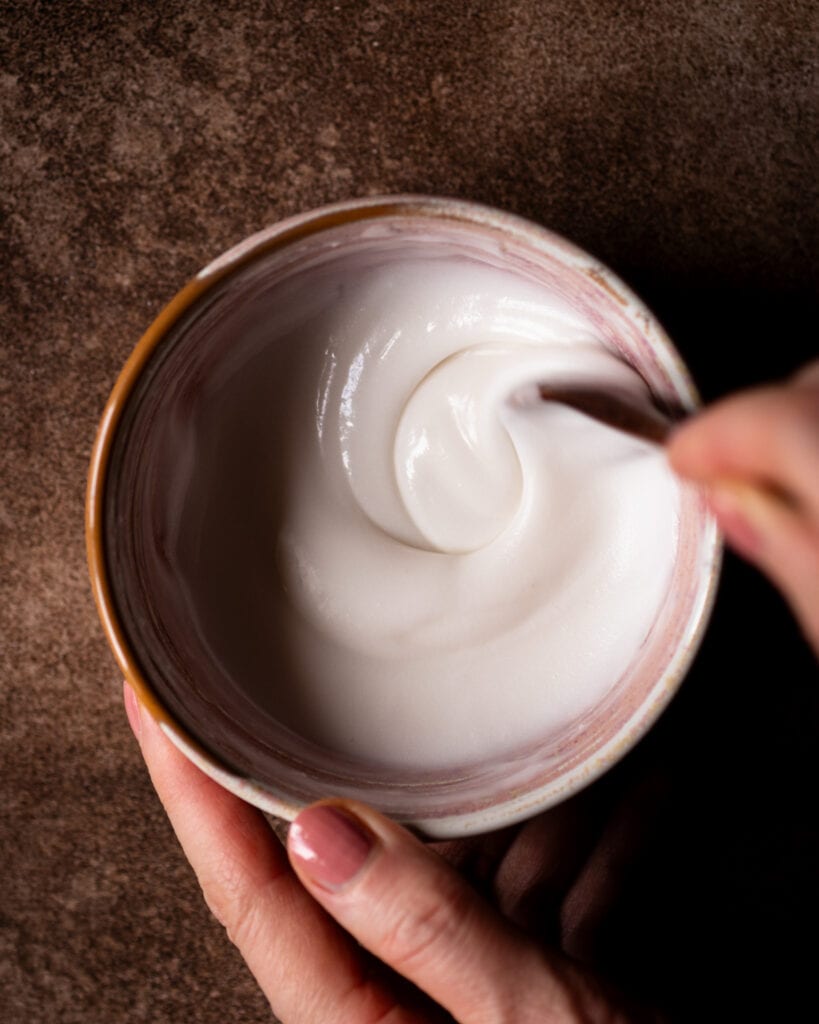
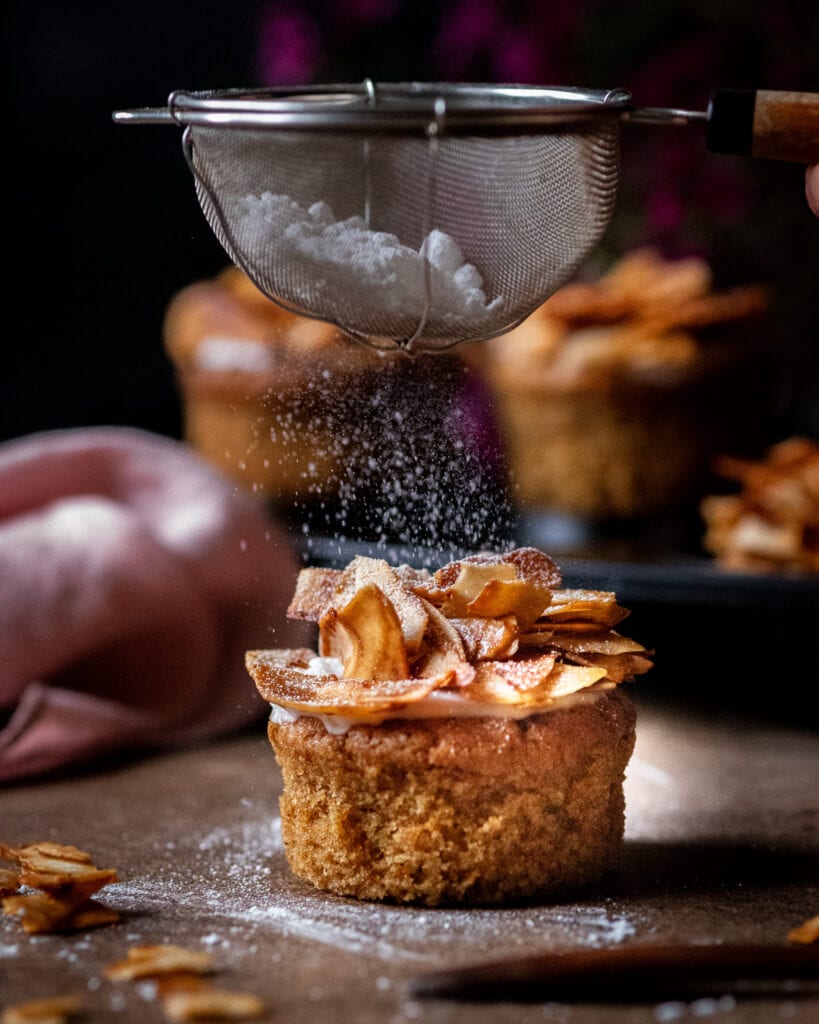
- Engaging Storytelling: You can narrate or include text overlays to guide viewers through the recipe if you like. It’s a good way to engage with your audience by sharing anecdotes or tips. A story can also be how a beige blob becomes a little piece of art:
- Quality Audio: You can use an external microphone to capture clear, high-quality ASMR. Avoid unnecessary background noise in your recipe reels.
- Start with an engaging hook: You only have the first seconds of your recipe reels to capture the viewer’s attention. Show something spectacular and draw them in by talking about something they want to know more about.
Are there courses on how to make food videos for instagram and tiktok?
Yes! If you’re just starting out, it can all feel a bit overwhelming. I can highly recommend these two courses:
If using a phone to film your recipe reels:
My photography teacher, Kimberly Espinel, offers a reels course designed for participants who want to master the art of short-form videography using their smartphones. Whether you’re just beginning to film or you’re an experienced creator looking to enhance your storytelling skills, hooks, and editing techniques, this course has everything you need. You’ll learn how to capture engaging shots, plan compelling content, and edit your videos like a pro—all with just your phone! From filming techniques to building a loyal community, this course equips you with the tools to create attention-grabbing Reels. Since I took Kimberly’s photography course five years ago—one of the best investments of my life—I’m confident that you can’t go wrong with this one.
You can check out Kimberly’s course plan here. Use the CODE NIN50 to get 15% off!
If using a camera to film your recipe reels:
The course I personally chose—because I prefer filming with a camera and editing on a desktop—is the Vertical Video Course by Eva Kosmas Flores. You can also get 15% off with the code NINA7064.
Even though I already considered myself an advanced learner, I still gained a lot from this course. I mainly bought it to learn how to edit my recipe Reels using the DaVinci Resolve software, and that alone made the investment worth it. Learning to navigate this initially complex professional software on my own would have taken me forever, but thanks to Eva, I was able to start editing my videos quickly. The course also covers Premiere Pro and Adobe Rush in detail. If you want to learn how to create beautiful, professional recipe videos, this is definitely the right course for you.
Remember, practice makes perfect, so don’t hesitate to experiment and refine your technique over time.
This reel was a runner up in a challenge and praised a lot for the pacing and colours. Feel free to have a look, and you want to make sure the sound is on:
You might also like